Fake images no longer look fake at first glance. A face may seem natural. A video may feel convincing. A breaking-news clip may spread before anyone checks the frame, the source, or the original file.
That is why visual verification needs a routine. Not panic. Not instinct. A routine.
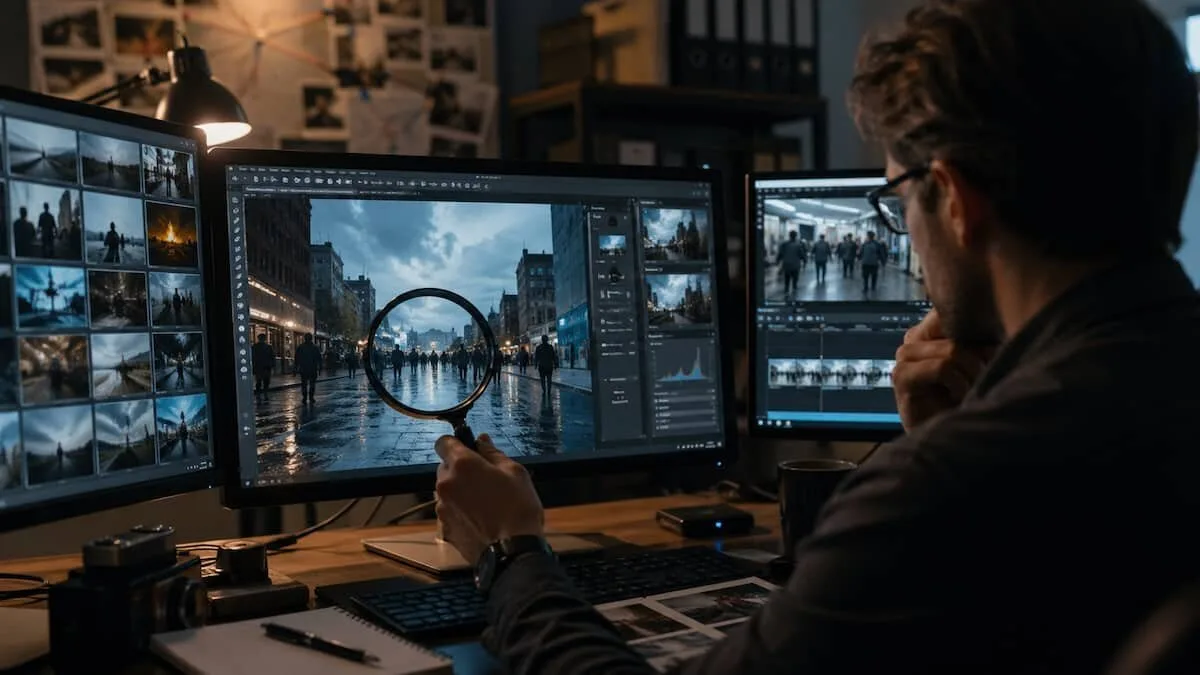
Start with the eye: look for physical errors
The first filter is still human observation, but it has to be trained.
Check the basics:
- Hands and anatomy: extra fingers, strange joints, uneven eyes, distorted proportions.
- Light and shadows: do all shadows point in the same direction? Does the light match the room, street, or landscape?
- Objects: does the laptop, phone, weapon, sign, or vehicle make physical sense?
- Text: AI-generated images often distort letters, logos, labels, and road signs.
- Contact points: are hands actually touching objects, or only floating near them?
- Reflections: mirrors, glass, water, and metal often reveal inconsistencies.
The rule is simple: reality has internal coherence. Synthetic images often break it.
For videos, go frame by frame
A video can survive a quick watch and fail under pause.
Do this:
- Pause often.
- Move frame by frame.
- Watch the background, not only the main subject.
- Look for changing logos, unstable objects, disappearing details, or fluid scenery.
Useful tools:
- VLC Media Player: press E to move frame by frame.
- FFmpeg: extract all frames for detailed analysis.
- InVID: useful for OSINT-style video checks.
A fake video often hides its weaknesses in motion. Still frames remove that advantage.
Find the highest-resolution version
Low quality protects a fake. Compression hides edges, texture problems, and visual artifacts.
Before judging an image, search for the best available version.
Use:
- Google Images
- TinEye
- Yandex Images
Then inspect:
- edges around people and objects;
- skin, fabric, hair, smoke, water, and shadows;
- strange textures;
- broken text;
- repeated patterns.
A screenshot from Telegram or X is rarely the best file to analyze.
Use forensic checks, but don’t worship them
Digital forensic tools can help, especially when the image has been edited or recompressed.
Check:
- ELA, Error Level Analysis: can highlight areas altered differently from the rest of the image.
- EXIF metadata: may show device, date, software, or editing traces.
- Noise pattern: can reveal whether parts of the image behave differently.
Useful tools:
- FotoForensics
- ExifTool
- Forensically
Risk: metadata can be removed, altered, or lost during upload. A clean EXIF file does not prove authenticity. A missing EXIF file does not prove fakery.
Try to falsify your own theory
This is the strongest OSINT habit.
Do not ask only: “Is this fake?”
Ask: “If this were real, what should I be able to see?”
Example checks:
- If a ring disappears, could it be AI, motion blur, reflection, or refraction?
- If a crowd looks suspicious, are people repeating unnaturally?
- If the event is real, are there other videos from different angles?
- If the place is public, do shadows, weather, clothing, and background match the claimed location?
This step protects you from confirmation bias. The goal is not to prove your first idea. The goal is to break it if it is weak.
Cross-check outside the image
Authentic events usually leave traces.
Look for:
- other videos from the same scene;
- local news coverage;
- eyewitness posts;
- Reddit threads;
- X/Twitter posts;
- Google News results.
One image alone is weak evidence. One image plus independent footage, matching location details, and multiple sources is stronger.
Common mistakes
Avoid these traps:
- trusting an image because it “looks real”;
- checking only one source;
- ignoring date, place, and event context;
- searching only for evidence that confirms your suspicion;
- treating forensic tools as final proof;
- analyzing a low-quality copy instead of the best available file.
Quick verification checklist
Use this before sharing:
- Check physical coherence: anatomy, shadows, light, objects.
- For video, inspect frames one by one.
- Search for the highest-resolution version.
- Run forensic checks: ELA, EXIF, noise pattern.
- Test alternative explanations.
- Cross-check with independent sources.
Visual verification is not about finding one magic clue. It is a sequence. Each step reduces the chance of being fooled.
Join the community: Newsletter → https://projectosint.substack.com/ & Telegram → https://t.me/osintprojectgroup